
Once you have your chosen your domain name and then set up the domain name for your blog. Purchased hosting, and set up your nameservers, it’s time to install WordPress.
This tutorial is for installing WordPress from WordPress.org on HostGator through your cPanel they provide with hosting. This should also be very similar to any other webhost that provides a cPanel.
Log into your cPanel. This should be www.YourDomainHere.com/cpanel.
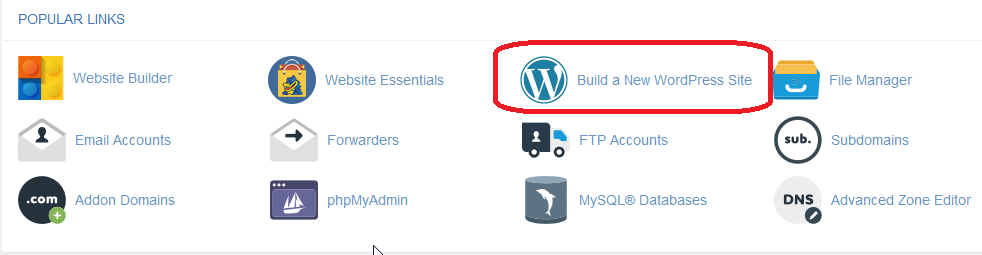
From the main page in your cPanel under Popular Links and/or Special Offers section you’ll see Build a New WordPress Site.
Click on Build a New WordPress Site.
Select the domain name of your blog where you are installing WordPress.

Leave the directory blank if you don’t have any particular directory you want your blog to be in. This would make it look like www.YourDomainName.com/blog/ instead of www.YourDomainName.com for readers to reach your blog if you chose a directory.
Click Next.
Enter your blog’s title, the username you want for your blog admin account, first and last name, and the email you want to use for your admin account..
Press Install.
Wait while WordPress installs. This can take a few minutes.
Next you will be given the admin account password, copy this password and press the login button.
You will then be taken to the login page for your blog, enter your admin username and the password you copied.
Now you will want to change the admin password if you would prefer something easier to remember than the randomly generated one you copied.
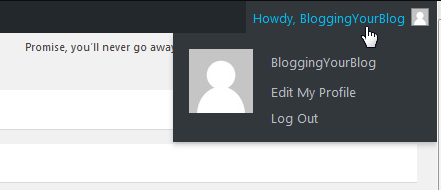
Once you are on your Admin page, in the upper right hand side of the screen you’ll see “Howdy, YourUsernameHere“, hover over that and select Edit My Profile
Scroll down until you see New Password and press the Generate Password button, you can now either keep the new random password or put in the password of your choosing. Make sure to choose one that is not an easy to guess password and use numbers and symbols for security reasons.

Once you have put in the password you want hit Update Profile button on the bottom of the page.
Congratulations! You now have your WordPress blog installed!